I don’t know if you have already heard about the caviar manicure (probably you did) but when my friends gave me this for my birthday, it was my first time. But as soon as I opened the box I knew I was going to like it a lot! Today I want to show you my first time doing this kind of manicure step by step. I hope you like the final result!
No sé si ya habías oído hablar de la manicura de caviar (probablemente sí) pero para mí fue la primera vez cuando mis amigas me lo regalaron para mi cumple. Aunque tan pronto como abrí la caja supe que me iba a gustar un montón! Hoy quiero compartir con vosotr@s la primera vez que lo utilizo, paso a paso. ¡Espero que os guste el resultado!
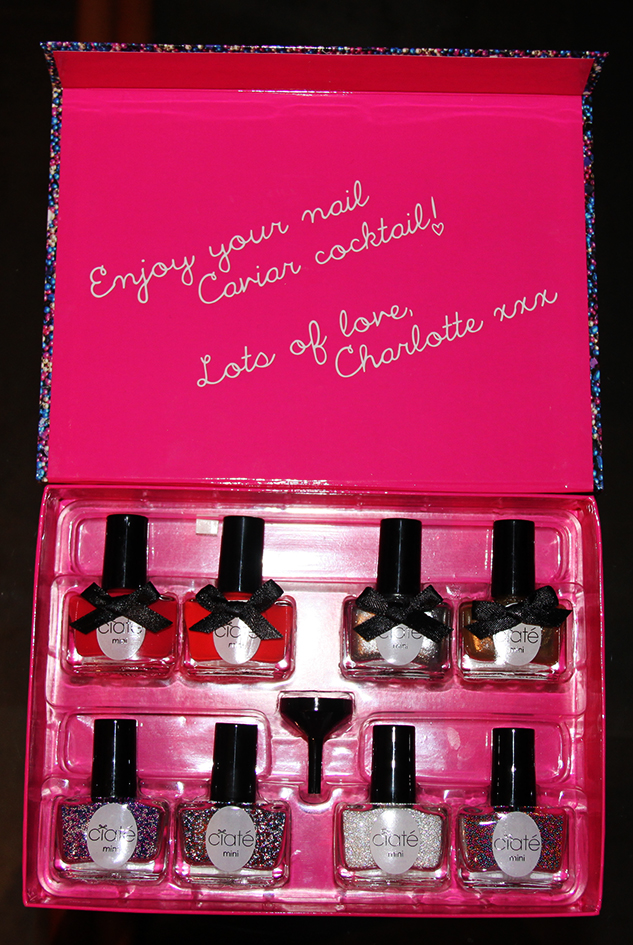
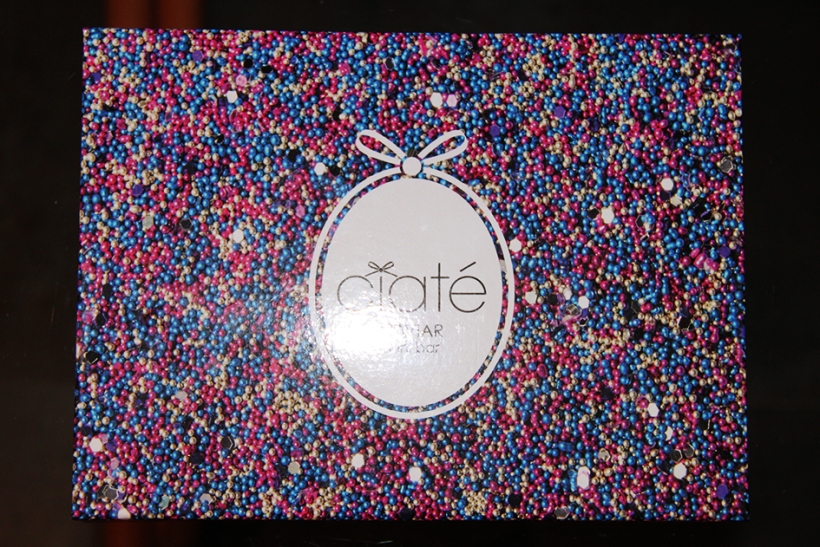
As you can see it is a very cute box in which one can find eight different nail polishes: four standard and four «caviar» ones (the last are not exactly nail polish, they contain micro-balls instead).
Como véis la cajita es muy mona y cuando la abres puedes encontrar ocho esmaltes de uñas: cuatro normales y cuatro de caviar (los últimos no son esmaltes sino micro bolitas).
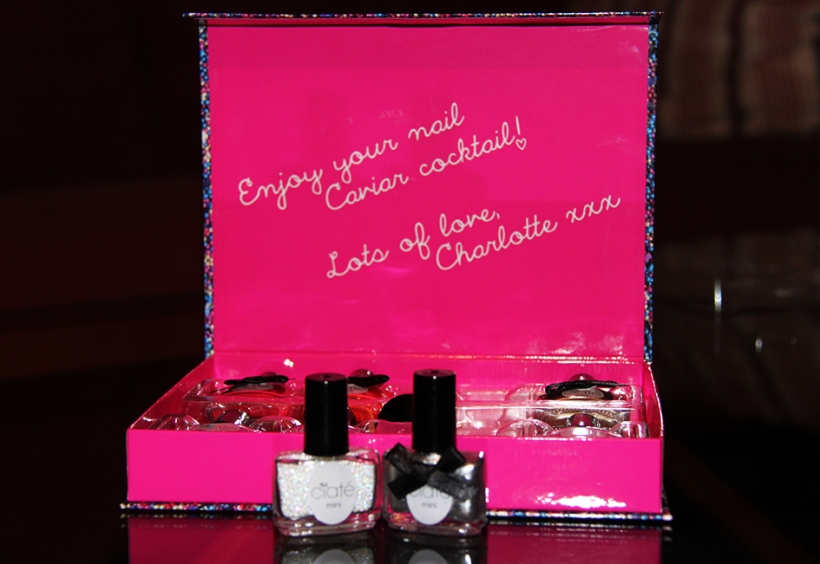
 For my first caviar manicure I chose the silver/white combo :)
Para mi primera manicura de caviar escogí la combinación plata/blanco :)
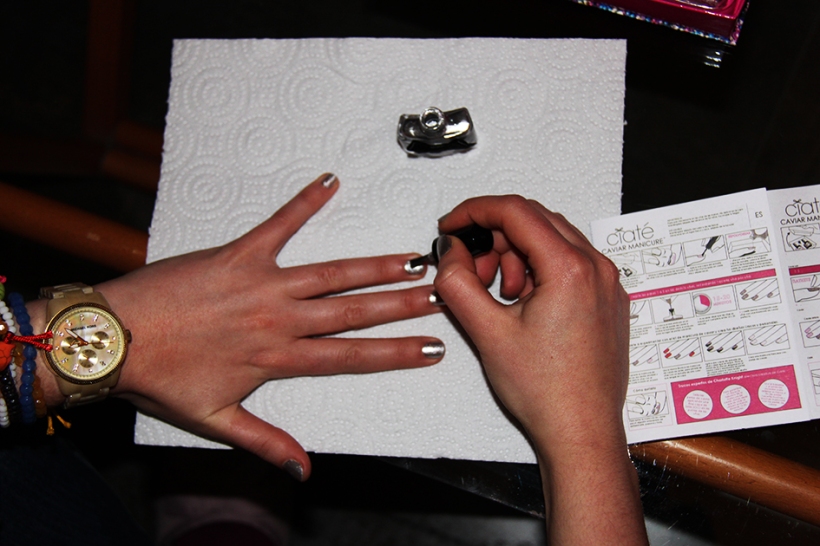
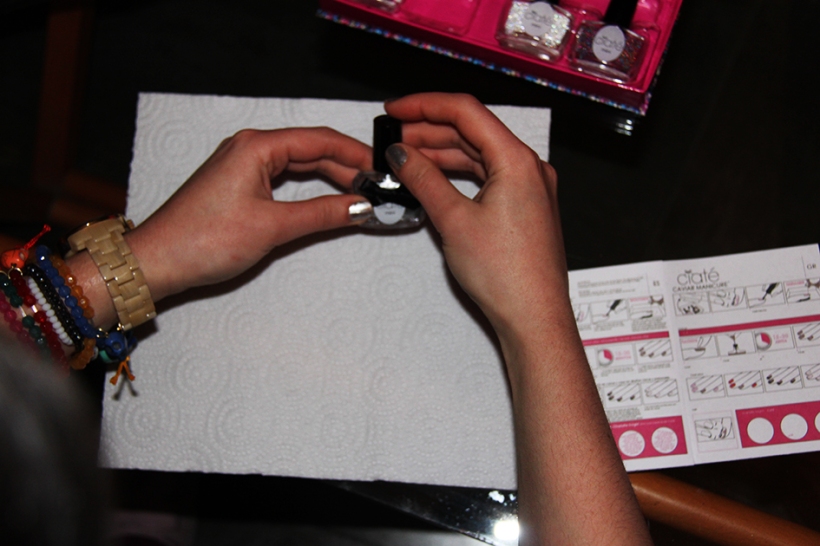
 Step 1: Apply the silver nail polish on all your nails.
Paso 1: Aplicar el esmalte plateado en todas tus uñas.
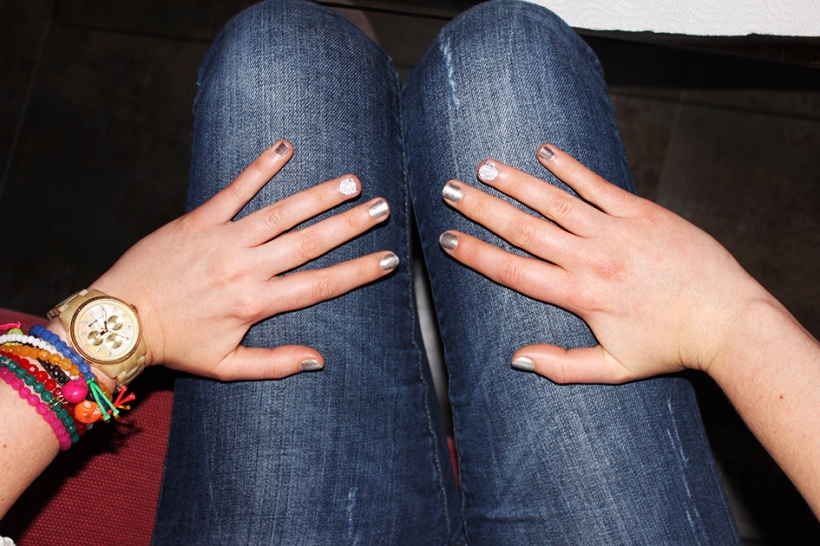
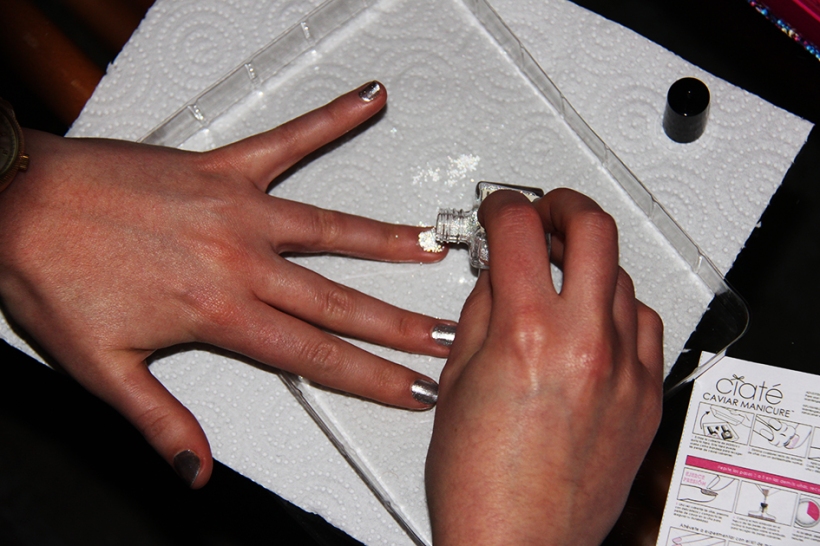
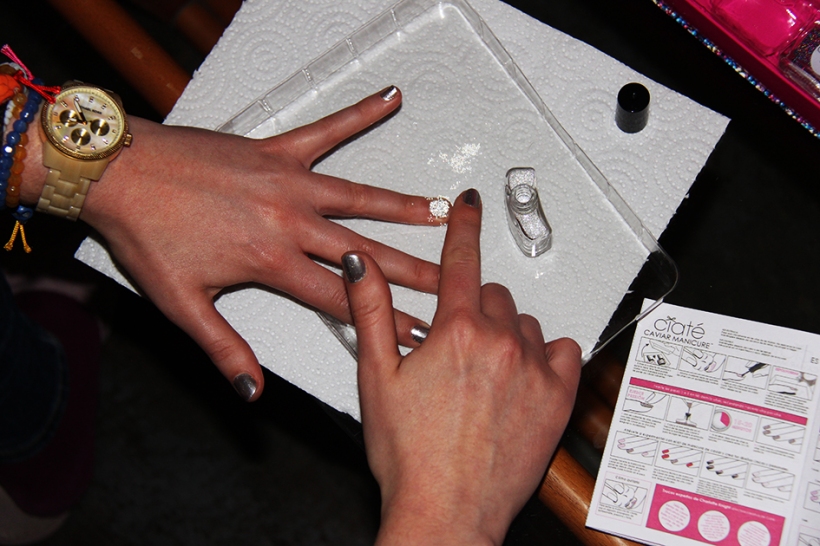
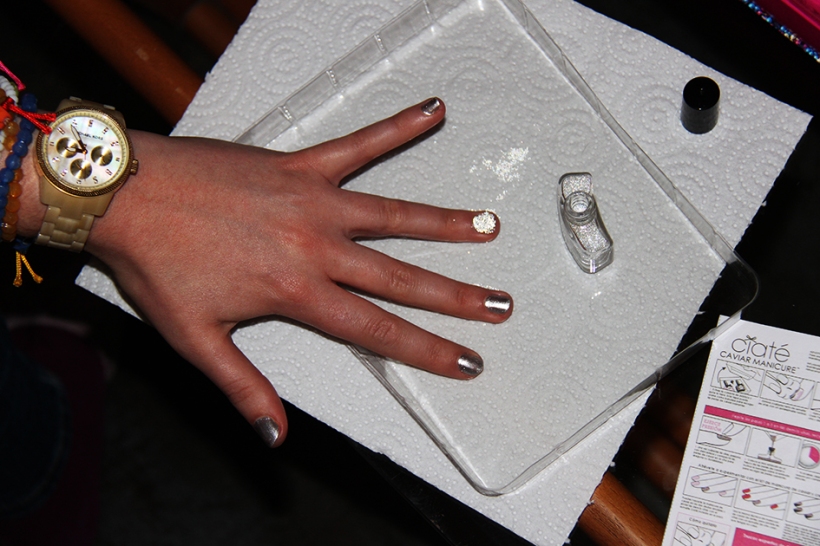
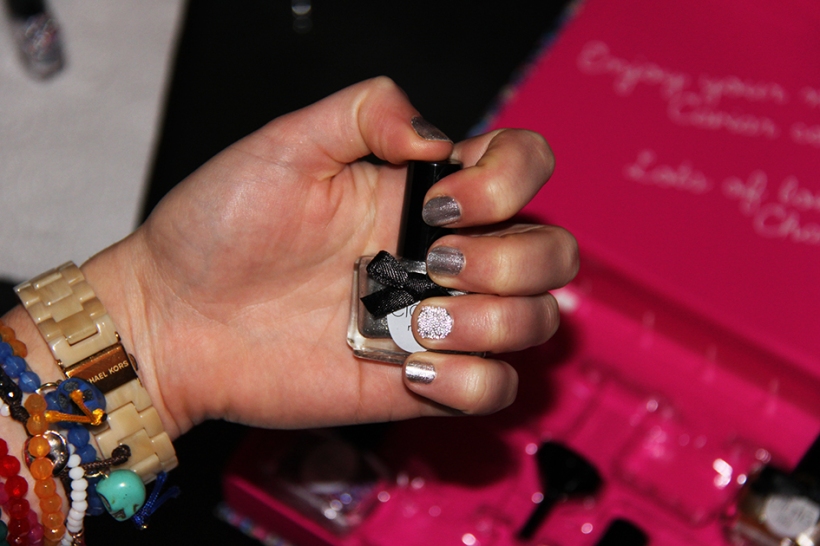
 Step 2: Apply the white caviar nail polish on the top when the silver one is still wet. In my case, I did it on just one nail. You need to do it putting the plastic tray underneath. After that, press the micro-balls with your finger and… this is how it looks like :)
Paso 2: Aplicar el esmalte blanco de caviar encima cuando el plateado aún está húmedo. En mi caso, elegí aplicarlo sólo en una uña. Tenéis que hacerlo poniendo la bandejita de plástico debajo. Después presiona las bolitas con el dedo y… así es como queda :)
¿Os gusta el resultado final?
 Step 3: Put the small black funnel inside the bottle, so you can easily the micro-balls left and use them for next time!
Paso 3: Poner el embudo negro pequeño dentro de la botellita, así podemos recuperar facilmente las bolitas que nos han sobrado para usarlas la próxima vez!
If you want them to last longer, just add a layer of colorless nail polish on the top :)
Si queréis que os duren más, añadir una capa de brillo encima :)


02/03/2013 en 9:27 AM
La cajita es muy mona! Tengo muchas ganas de probarlo, el de las bolitas de colores tiene que quedar way!
Un beso Cris :)
02/03/2013 en 9:58 AM
Stunning post!
I wait for you fo NEW EASTER POST!!
Follow me that i follow you!
Kisses from Rome
Federica
smartchicdietreadbooksandfly.blogspot.it
02/03/2013 en 5:26 PM
Thank you!! Nice Eastern post btw. I already follow you through Bloglovin’ :) xoxo